Cakes on a Plane!
< Back to beginning | Next step: Bake >
Mix
Rich, sweet and smooth
Creaming the butter and sugar is one of the most important steps in making a light cake with fine texture. Butter softened at room temperature is ideal, but there are many cooks who know that a few minutes of intense battering with the mixer blades or else (more gently) wrapping the bowl with a hot, wet towel can be just as effective. For butter frozen solid, hack off thick slices, spread them on a metal pan and leave in a warm place, such as an unheated oven or a sunny room, for 15 to 30 minutes to thaw. Then proceed to softening with the vigorous massage or the wet sauna technique. If you choose to microwave, do so with great care. Melted pools of butter are not a good thing for effective creaming.
Patience is essential. Consider five minutes the minimum for adequate blending of sugar and butter.
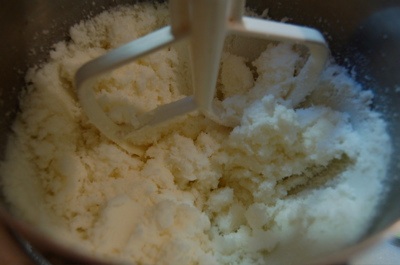
Here you can see the progression of texture from sandy…
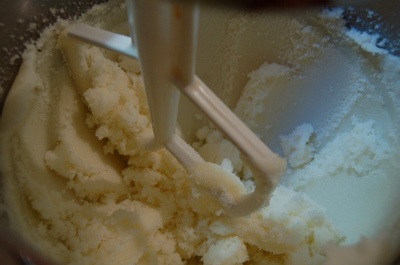
…to smooth…
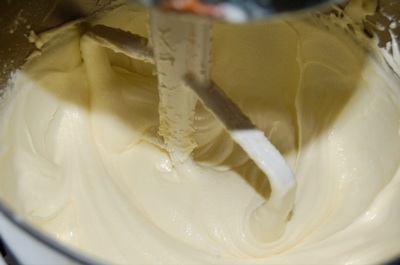
…to creamy.
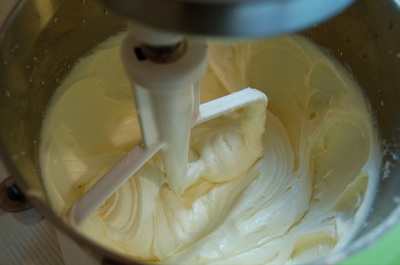
The sugar grains will almost disappear. One pastry chef told me that I shouldn't be able to feel the grains between my fingers, but to be honest, I've never creamed butter and sugar that long.
Eggs
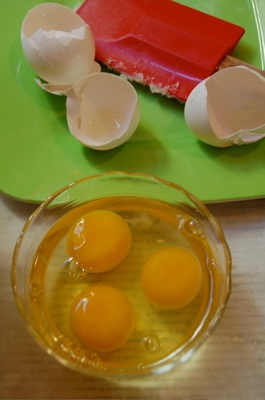
For the most loft, eggs should also be at room temperature. And of course there's a shortcut: immerse the cold eggs in their shell in a bowl of hot water for about 10 minutes.
To catch stray bits of shell, break the eggs into a small bowl first before adding them to the batter. Plop each yolk along with some of white into the cream and butter; add the eggs one by one and mix well after each.
Keep beating the mixture until the eggs, butter and sugar become wonderfully light and airy.
Chocolate
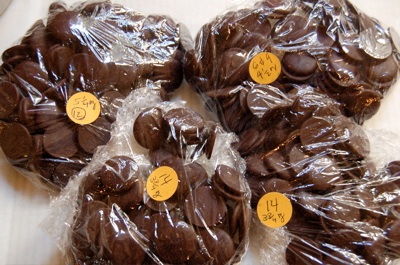
Nancy Kux, sweetie that she is, also gave me some chocolate for the cake—pre-measured and labeled for each tier. This is unsweetened chocolate from Guittard created for professionals, conveniently shaped into pastilles for easy pouring, weighing and melting.
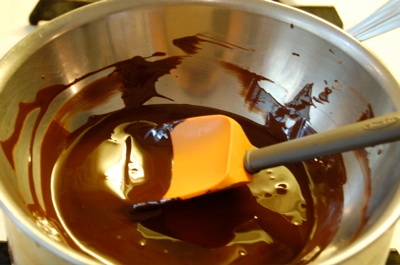
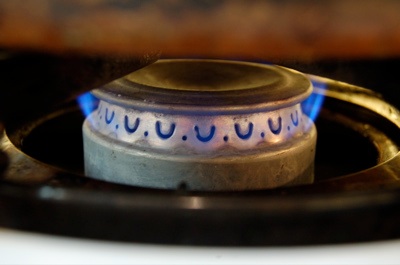
I like to melt the chocolate in a small bowl that just fits over one of my saucepans. The water is not boiling; a low flame is enough to heat the water and melt the chocolate gently and evenly. A soup spoon stuck in between the bowl and pan creates just enough of an air gap to prevent the steam from building up and scorching the chocolate. This is also my standard double boiler set-up for hollandaise, custard bases and delicate sauces.
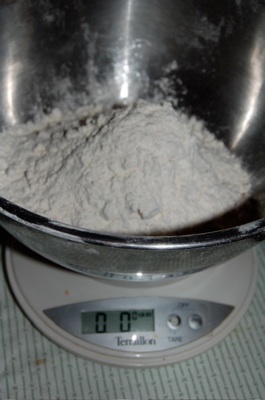
Dry ingredients are best measured by weight. A scale that allows you to tare—or reset the reading to zero—makes adding and measuring successive ingredients easier. This way, you can use any bowl, and you don't have to keep emptying it as you add the next ingredient.
Sifting
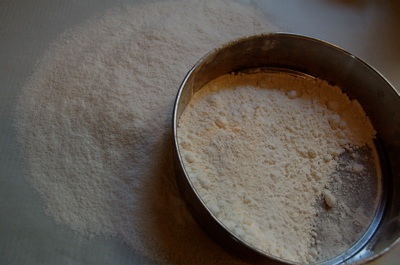
Sifting is key for a fine texture in cakes, and it helps distribute the salt and leavening evenly throughout the batter. Even my pre-sifted cake flour will change radically after falling one more time through a fine mesh. I find that an 8-inch tamis is cheaper, faster to use, easier to store, and more versatile than one of those crank-type sifters. Sifting onto parchment paper means that later I can just lift the paper and pour the dry ingredients into the mixer bowl.
Chillin'
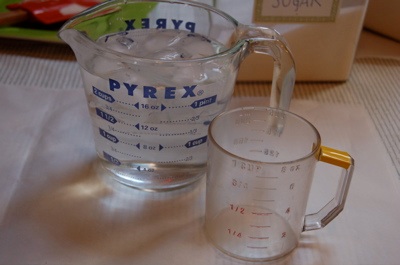
Adding iced water seems counter-intuitive, especially after taking the trouble to bring all those ingredients to room temp. However, now that you've successfully created lightness in the butter and eggs, alternating cold liquid with the dry ingredients helps prevent over-development of gluten proteins in the flour. Working the protein is desirable in a sturdy loaf of bread, but in tender cakes, you actually don't want those long protein strands to grow and interlock into a tough network.
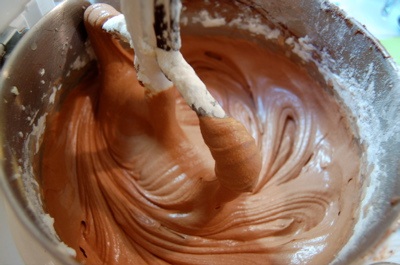
Mixing
This is the batter after the last addition of dry ingredients. I usually divide the wet and dry ingredients into 3 to 4 additions each, depending on the size of the batter, and always start and end with the dry ingredients.
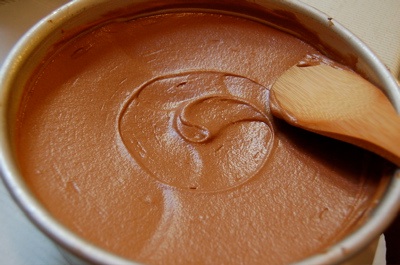
Into the pan
Here I'm smoothing the top of the batter with the rounded edge of a wooden spoon. Since I want as flat a surface as possible after the cake bakes, I'm swirling the batter now to create a concave surface. This will compensate for the natural tendency of cakes to rise more at their centers as they bake. It's difficult to tell in the photo, but the batter dips down about 1 1/2 inches from the pan's outside edge to its center. If your batter is thin, you can just spin the pan really fast to push the batter outward and upward by centrifugal force. This mixture is quite thick, however, so I have to shape it.
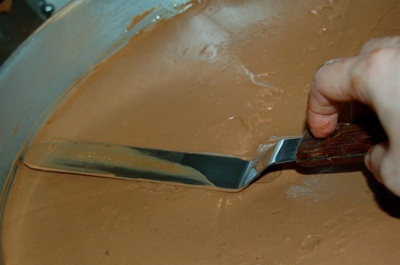
For the biggest tier, I use an offset spatula held at an angle and spin the cake pan to smooth the batter. Again, I'm creating a concave surface with the center dipping lower than the outer edge. If you've ever tried to stack and frost a cake with domed layers, you know the trouble this can cause. If you haven't, trust me—a wedding cake with a rounded top is not a good thing.
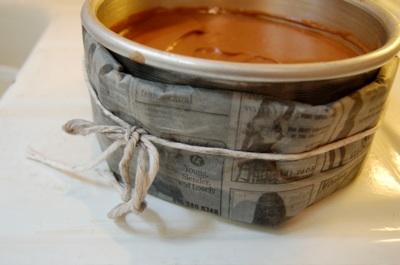
Wet newspaper strips encircle the outside of each cake pan. They help insulate the outside area of the batter from the oven's heat, so that it bakes at an even rate with the center of the cake. Thus, no hard or scorched edges later. Each strip is folded from 4 to 5 layers of newspaper. (As you can see, I forgot to censor the back pages of the SF free weeklies I used to make my cake strips—a little extra spice for the wedding cake.) The ink can run and make a mess, so I usually fold the paper, dunk them far in advance, drape them with plastic wrap, and then set them aside until needed.
June 2006
© Thy Tran